Front Fork Disassembly
SAFETY FIRST: Protective gloves and eyewear are recommended at this point.
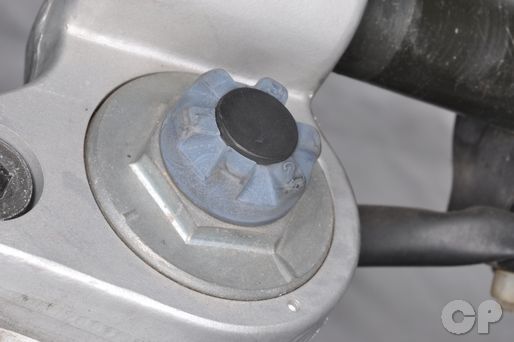
The 1988 Katana 600 doesn't have adjustable suspension. This model has fork top plugs held in place by snap rings.
Place the motorcycle on a stand so the front wheel is off of the ground.
Turn the damping adjuster to the full soft position if the fork is an adjustable type. Record the original setting so that it can be returned to this position after reassembly.


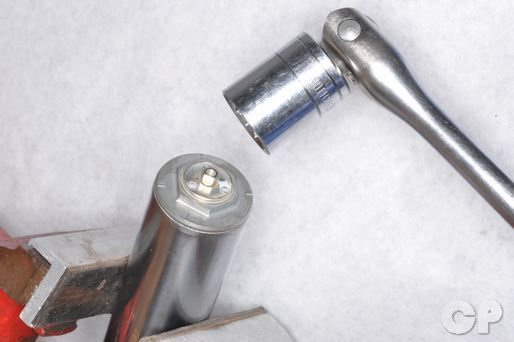
With the forks in the clamps loosen the caps with a 24 mm socket. Remove the front forks. See the Front Fork Removal topic for more information.

Remove the damping adjuster center cap.


Support the damping adjuster and remove the damping adjuster screws with a #2 Phillips screwdriver.
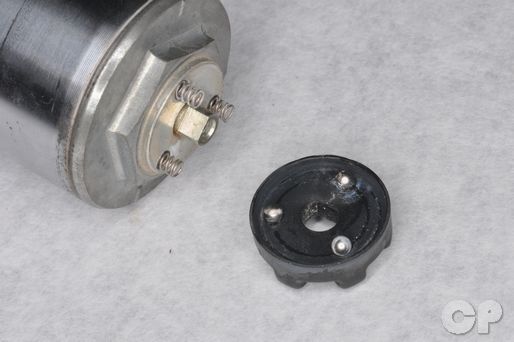


Remove the three ball bearings and springs.


On the 1988 Katana 600 remove the fork cap.


Push down on the top plug and remove the snap ring. Remove the top plug. Inspect the top plug O-ring and replace it as needed.


Remove the speedometer cable stay bolt with a 10 mm socket. Remove the speedometer stay.


Remove the previously loosened fork cap and damper adjuster rod with a 24 mm socket. Take care to keep the fork cap from falling because the fork spring will try and push it out as the cap is unscrewed. Remove the O-ring from the fork cap.


Remove the spacer and washer from the inner fork tube.
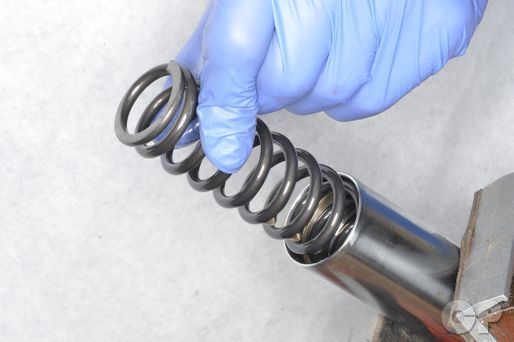
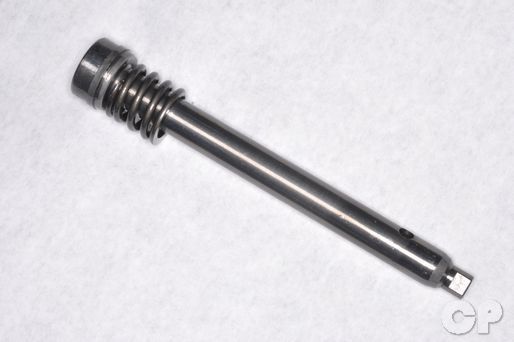
Remove the spring from the inner fork tube. Note the progressive winding of the spring. The spring is more closely wound at the bottom.


Dump the fork oil into a suitable container. Pump the fork through its stroke several times to free as much oil as possible.
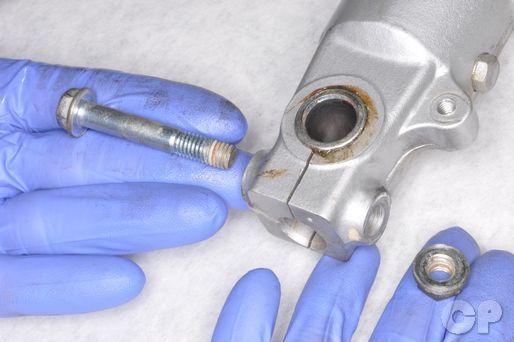 Hold the pinch bolt in the left fork leg with a 12 mm socket and loosen the nut with a 12 mm socket. Remove the pinch nut and bolt


Remove the axle bushing from the left fork leg.
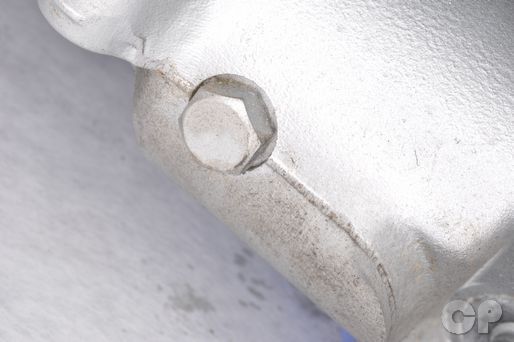
The bolt on the back of the right fork leg holds the oil lock piece in position. It is not necessary to remove this bolt during disassembly. If the bolt is removed replace its sealing washer.


Clamp the fork slider in a vise using soft jaws or wood to prevent damaging the fork. Loosen the fork bottom bolt with a 6 mm Allen. If the fork piston turns with the bolt you will have to temporarily install the fork spring, washer, spacer and cap. Remove the bolt and the sealing washer.


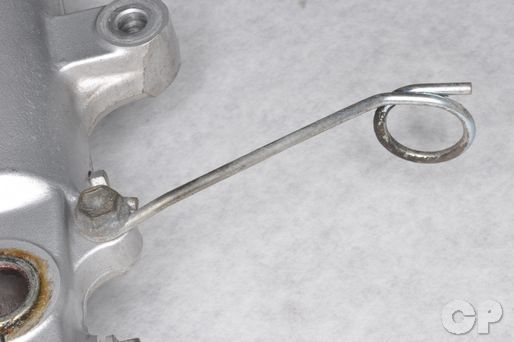
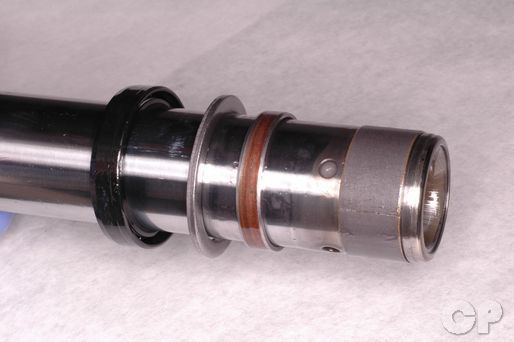
Remove the damper rod, rebound spring and oil lock piece from the inner fork tube.


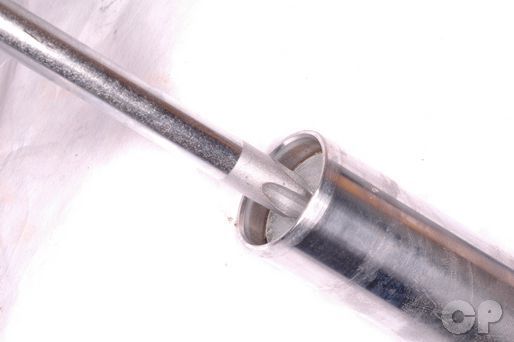
Use a flat blade screwdriver to pop the dust seal out of the fork slider. Take care to avoid scratching the fork tube. Slide off the dust seal.


Use a small flat blade screwdriver to pry out the fork oil seal stopper ring. Take care to avoid scratching the fork tube.


Slide off the stopper ring.
Separate the inner and outer fork tubes by pulling them apart using a slide hammer motion.


Slide the oil seal off the top of the inner fork tube.


Suzuki recommends replacing the bushings when disassembling the forks. Remove the inner fork tube bushing by separating it with flat blade screwdriver.
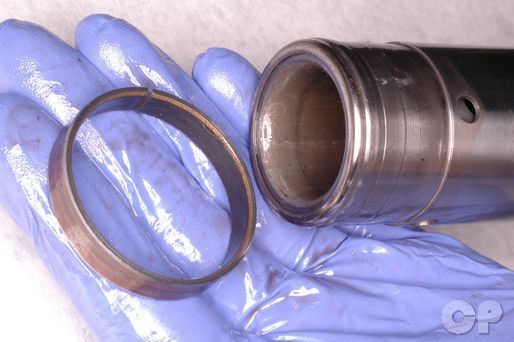
Remove the outer fork tube guide bushing.
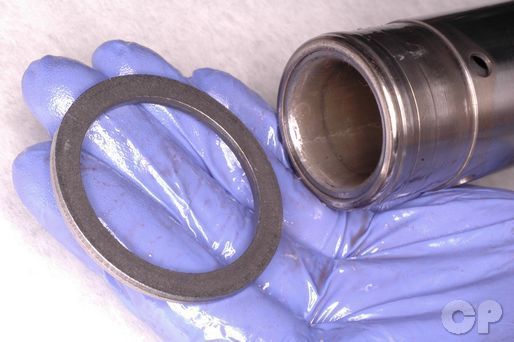
Slide off the oil seal retainer.
Clean the fork components with a high flash point solvent. Discard the old fork seals and bushings.
Inspection


Inspect the inner and outer fork tube for wear and damage.
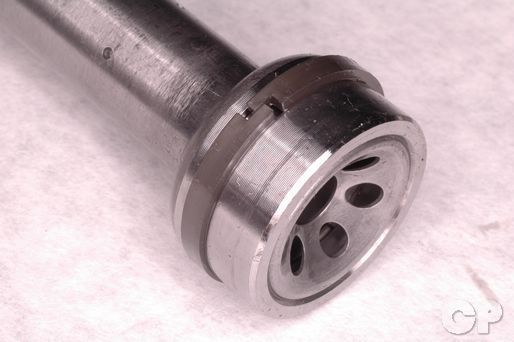 Inspect the damper rod and rod ring for wear and damage. Replace the damper rod ring as needed.
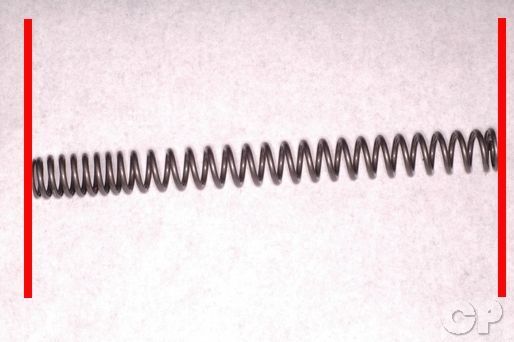
Measure the free length of the fork spring. Replace the fork spring if the free length is below the service limit or the fork springs vary dramatically between the forks.
| ITEM | MODEL | LIMIT |
| Front fork spring free length | (600) 1988 | 361 (14.2) |
| Front fork spring free length | (600) 1989 - 1996 | 299.4 (11.7) |
| Front fork spring free length | (600) 1997 | 308 (12.1) |
| Front fork spring free length | (750) 1989 - 1996 | 411.9 (16.2) |
| Front fork spring free length | (750) 1997 | 318 (12.5) |
Inspect the other fork components for damage and wear and replace them as needed.
For Assembly see the Fork Assembly topic for more information.
Copyright - Cyclepedia Press LLC

Note: If you are viewing this document offline be sure to visit the latest version online at http://www.cyclepedia.com before attempting any repairs. Updates are made without notice.